Migrate WordPress without FTP:Migrate Guru, cPanel or one file
Move WordPress to a new host without FTP using Migrate Guru, cPanel's File Manager and phpMyAdmin, or All-in-One WP Migration, then test and switch DNS safely.

On this page
- The whole move at a glance
- Which method should you use?
- Before you start
- Method 1: Migrate Guru (no FTP needed)
- Method 2: Copy files and database through cPanel
- Method 3: All-in-One WP Migration
- Test the new site before switching DNS
- Switch DNS and keep the old host running
- After the move
- Changing the domain at the same time
- Troubleshooting
- The one message worth forwarding
- Reader questions
- Sources & further reading
The short answer
Back up the site yourself first, because Migrate Guru does not make backups. Use Migrate Guru when the new WordPress install is reachable online, copy files and the database through cPanel when both hosts use cPanel and DNS still points at the old host, or export and import a single file with All-in-One WP Migration for small sites. Test the new copy with a hosts file entry, freeze changes, switch DNS in a quiet hour, keep the old hosting for a few days, and fix URLs with a serialized-safe search and replace if the address changed.
You can move a WordPress site to a new host without touching FTP in three practical ways. Migrate Guru copies the site server to server using a migration key, handles sites up to 200 GB and does the heavy lifting on its own servers. If both hosts use cPanel, you can download the files and database from the old account and upload them to the new one through the browser. And All-in-One WP Migration packs the site into one file that you import on the new host. Whichever you choose, the safe order is the same: back up, copy, test on the new server before DNS changes, switch DNS, and keep the old host running for a few days.
A made-up example of why the order matters. Farah runs a small online boutique. She starts a migration at 8 pm on a Friday, her busiest evening, switches the DNS as soon as the copy finishes, and cancels the old hosting the next morning to save money. The orders placed while the copy was running never made it to the new server, and with the old account gone, neither did the records of them.
By the end of this guide you will know which method suits your site, how to do each one step by step, how to test the new copy before anyone else sees it, and what to check after the switch.
The whole move at a glance
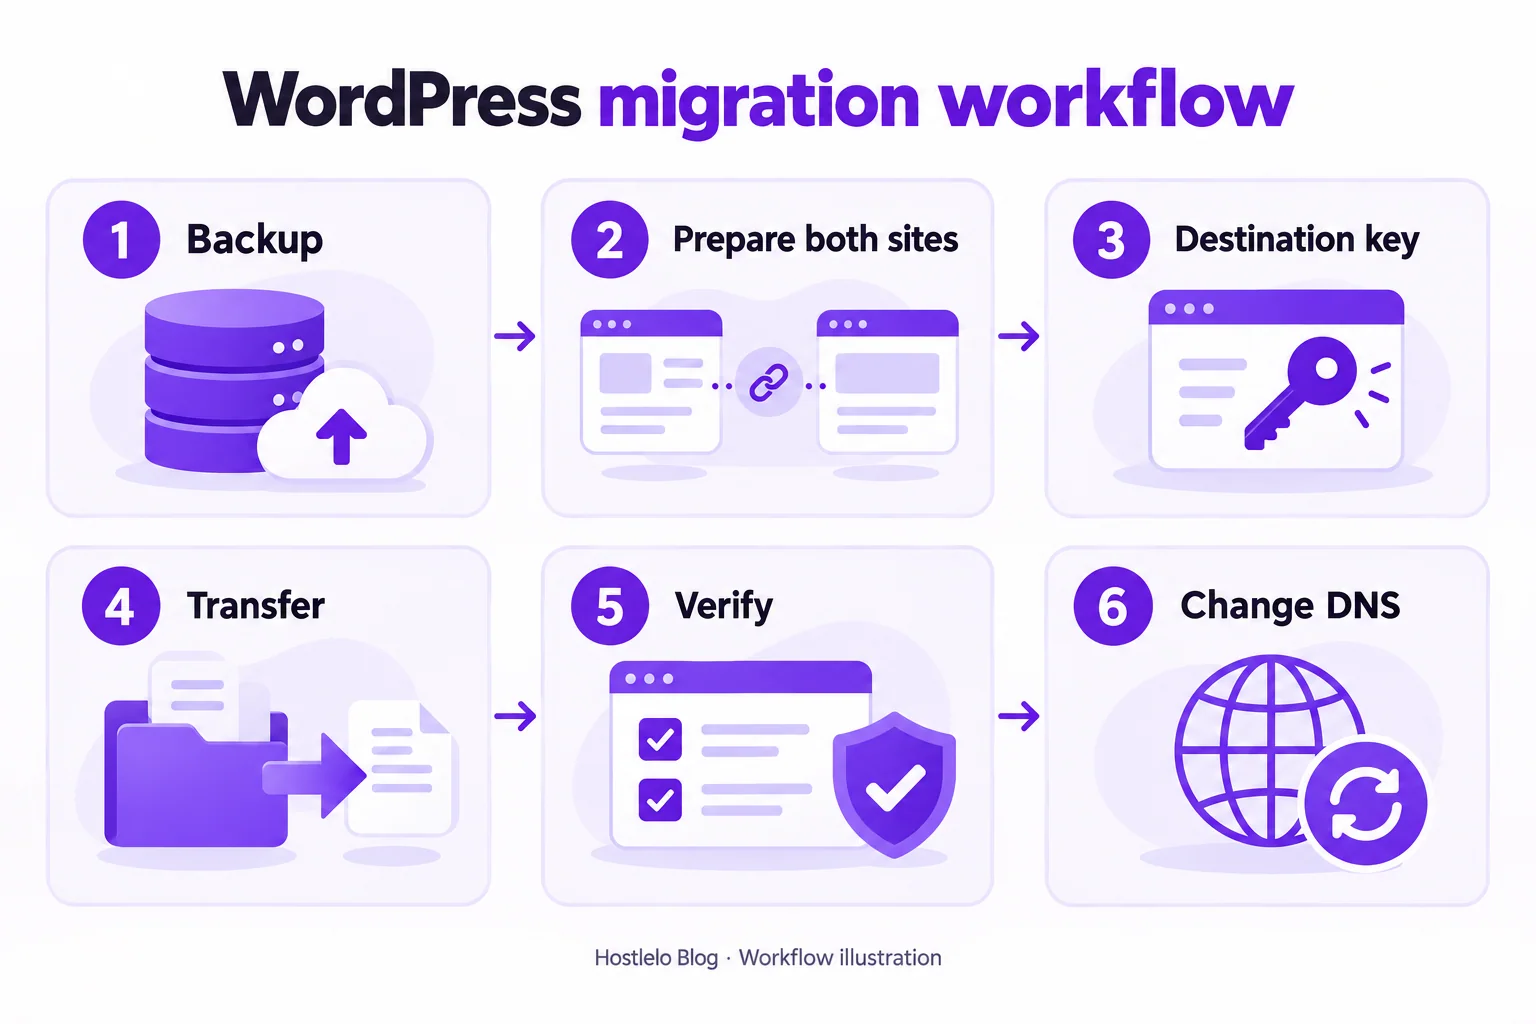
In short: back up both sites, prepare the new hosting, transfer, test with a hosts file, change DNS, then tidy up.
Which method should you use?
- Migrate Guru: best when the new WordPress site can already be reached on the internet, for example on a temporary address or a staging subdomain from your new host. It works without FTP or cPanel logins in its normal mode, uses its own servers rather than your hosting resources, and automatically replaces URLs if the address changes. It allows 5 site migrations a month, and it does not make backups.
- cPanel files and database: best when both old and new hosts use cPanel and the domain still points at the old host. You upload directly into the new account, so the new site does not need to be reachable by its domain yet. It takes a few more clicks, but nothing depends on a third-party service.
- All-in-One WP Migration: a simple export and import between two WordPress dashboards. Fine for small sites; larger sites may hit the free version's import size limit, which the paid Unlimited Extension removes.
Before you start
- Make a backup you control. Download a copy of the files and database (the cPanel method below shows how), or use your existing backup tool, and keep it on your computer or cloud storage. Migrate Guru's own FAQ is clear that it does not back up your site.
- Check the size. In WordPress, Tools > Site Health > Info > Directories and Sizes shows how big the site and database are. Size decides how long the copy takes and whether a single-file export is realistic.
- Match the software. Check the PHP version on the old host (also in Site Health) and set the same or a newer supported one on the new host, so old plugins do not break on arrival.
- Find out where your email lives. If your mailboxes are on the old hosting account, a WordPress migration does not move them. Plan email separately, or move email to a dedicated provider first.
- Pick a quiet time. For shops, booking sites and membership sites, choose a low-traffic window and plan to pause new orders or sign-ups during the final copy.
- Lower the DNS TTL a day ahead so the switch takes effect in minutes rather than hours. Our DNS propagation guide explains how.
- Prepare the new hosting: add the domain to the new account and make sure you can log in to its control panel.
Method 1: Migrate Guru (no FTP needed)
Step 1: Install WordPress on the new host
Migrate Guru copies into an existing WordPress installation, so the destination needs a fresh WordPress install first. Our Softaculous install guide shows the quickest way. It does not matter what admin login you give it; the migration replaces it with your old site's users.
The key point: Migrate Guru's servers must be able to reach the destination site over the internet. If your domain still points at the old host, install the destination on the temporary address or staging subdomain your new host provides. Ask the new host if you are not sure which address to use.
Step 2: Install Migrate Guru on both sites
On both the old and the new site, go to Plugins > Add New, search for "Migrate Guru", click Install Now, then Activate. The plugin asks for an email address, which it uses to send progress updates and error notices.
Step 3: Copy the migration key from the new site
On the new (destination) site, open Migrate Guru from the dashboard menu and copy the migration key it shows. Treat the key like a password: it lets someone send a site into your new WordPress install.
Step 4: Start the migration from the old site
On the old (source) site, open Migrate Guru, choose the option to migrate using a migration key, paste the key and start the migration. The plugin's wording changes from time to time, so follow the current on-screen prompts. If the key method fails, Migrate Guru can fall back to asking for FTP or cPanel details for the destination; use temporary credentials if you go that way, and delete them afterwards.
Migrate Guru says about 1 GB of files and database moves in under 30 minutes. You get an email when it finishes or if something goes wrong.
Step 5: Fix the address if you migrated to a temporary URL
Migrate Guru replaces the old address with the destination address automatically. If you migrated to a temporary address, the new copy now uses that temporary address everywhere. Check the site there first, then change the temporary address to your real domain with a search and replace (see the section on changing the domain later in this guide), and test again with a hosts file before you switch DNS.
Method 2: Copy files and database through cPanel
This method works entirely in the browser and does not depend on DNS at all.
Step 1: Download the files from the old host
- In the old cPanel, open Files > File Manager and go to the site's folder (usually
public_html). - Select all files and folders in it, including
.htaccess(turn on Show Hidden Files in Settings if you cannot see it). - Click Compress, choose Zip Archive, and create the archive.
- Select the new zip file and click Download.
Step 2: Download the database
Find the database name in the site's wp-config.php file (the DB_NAME line). Then use either option:
- Backup: open Files > Backup, and under Partial Backups > Download a MySQL Database Backup, click the database name. You get a compressed
.sql.gzfile. - phpMyAdmin: open Databases > phpMyAdmin, select the database on the left, click Export, keep Quick and SQL, and click Export.
Note that cPanel's Download a Full Account Backup cannot be restored through the cPanel interface; cPanel's documentation says to contact your hosting provider for a full restore. For moving one WordPress site, the files and database are all you need.
Step 3: Create the database on the new host
In the new cPanel, open Databases > Database Wizard, create a database, create a user with a strong password, and grant ALL PRIVILEGES. Write down the full names, including the cPanel username prefix.
Step 4: Import the database
Open Databases > phpMyAdmin on the new host, click the new database on the left, then Import, choose your .sql or .sql.gz file, and click Import (or Go). Very large databases can exceed the upload limit; if that happens, ask your new host to import it for you.
Step 5: Upload and extract the files
In the new cPanel's File Manager, open the domain's folder, delete any default placeholder page, click Upload and send the zip file. Then select it and click Extract. Make sure wp-config.php, wp-admin and wp-content end up directly inside the domain's folder, not inside an extra subfolder.
Step 6: Point wp-config.php at the new database
Edit wp-config.php in File Manager and update these four lines with the new details:
define( 'DB_NAME', 'newcpuser_wpdb' );
define( 'DB_USER', 'newcpuser_wpuser' );
define( 'DB_PASSWORD', 'the-strong-password-you-created' );
define( 'DB_HOST', 'localhost' );
localhost is correct on most cPanel hosts; if your new host gives a different database host, use theirs. Because the domain is the same, you do not need to change any URLs.
Method 3: All-in-One WP Migration
- Install and activate All-in-One WP Migration on the old site and on a fresh WordPress install at the new host.
- On the old site, go to All-in-One WP Migration > Export, choose Export To > File, and download the
.wpressfile when it is ready. - On the new site, go to All-in-One WP Migration > Import and drag in the file. Confirm the warning that the import overwrites the destination site.
- When it finishes, log in again with your old site's username and password, because the import replaces the destination's users too. Then visit Settings > Permalinks and click Save Changes so the rewrite rules are rebuilt.
If the import stops because the file is too large, either use one of the other methods or buy the plugin's extension that removes the limit.
Test the new site before switching DNS
Never switch DNS on faith. Tell your own computer to visit the new server while everyone else still sees the old one, by adding a temporary line to your hosts file with the new server's IP:
192.0.2.10 example.com www.example.comOn Windows the file is C:\Windows\System32\drivers\etc\hosts (edit it in Notepad opened as administrator); on macOS and Linux it is /etc/hosts. Our DNS propagation guide has the full steps, plus a curl --resolve trick that needs no file edits.
Then walk through the site as a visitor and as the owner:
- Pages: the homepage, a few posts and pages, categories, search, and the 404 page.
- Media: images, PDFs and videos load.
- Logins: WordPress admin, and customer accounts if you have them.
- Forms: submit the contact form and confirm the email arrives.
- Checkout: place a test order using your payment provider's test mode.
- Settings > Permalinks: click Save Changes once to rebuild the rewrite rules if inner pages show 404 errors.
The site may show a certificate warning while you test this way, because the new host often cannot issue the free certificate until DNS points to it. That is normal; it should clear after the switch.
Remove the hosts entry when you finish testing.
Switch DNS and keep the old host running
- Freeze changes on the old site. Ask anyone who edits content to stop. For a shop, pause orders or put the site in maintenance mode.
- Catch up on recent changes. If orders, comments or posts arrived since the copy, run the migration again or re-export and re-import the database.
- Change DNS. Update the
Arecord to the new server IP, or change nameservers if the new host will run your DNS. Our guide on connecting a domain to hosting covers both, including how to protect email records. - Keep the old hosting active for at least a few days. Some visitors will keep reaching it until their DNS caches expire, and it is your fallback if something was missed.
After the move
- HTTPS: check that the padlock appears for both the bare domain and
www, then make sure HTTP redirects to HTTPS, as our HTTPS redirect guide explains. - Caching: reconfigure or replace the caching plugin to suit the new server. If the new host runs LiteSpeed, our LiteSpeed Cache guide walks through it.
- Email from WordPress: send a test from your forms. If you use an SMTP plugin, check its settings survived.
- Backups: set up automatic backups at the new host and test one restore.
- Clean up: deactivate and delete the migration plugin on both sites, and delete any temporary FTP or cPanel accounts you created.
- Close the old account last. Download one final backup from it before you cancel.
Changing the domain at the same time
If the address changes (for example from a temporary URL or a staging subdomain to your real domain), the database still contains the old address. WordPress's own migration documentation warns that a plain find and replace on the database can break serialized data, and that you should never change the GUID column. Use a tool that understands serialized data, such as WP-CLI. Run it first with --dry-run to see what would change:
wp search-replace 'https://temp.example.net' 'https://example.com' --skip-columns=guid --dry-run
wp search-replace 'https://temp.example.net' 'https://example.com' --skip-columns=guid
Replace both addresses with your own. Take a database backup first, and check Settings > General afterwards. If WP-CLI is not available, the Better Search Replace plugin, which WordPress's documentation also lists, does the same job from the dashboard.
Troubleshooting
Migrate Guru cannot reach the destination
The destination address is not reachable from the internet, or it still points at the old host. Use the new host's temporary address or a staging subdomain, check that the destination WordPress loads in a browser, and copy a fresh migration key.
"Error establishing a database connection"
The details in wp-config.php do not match the new database. Check the full prefixed database and user names in cPanel, the password, and that the user was added to the database with all privileges.
Inner pages show 404 errors
The rewrite rules did not come across. Go to Settings > Permalinks and click Save Changes, and make sure the .htaccess file was copied.
Images are missing
The wp-content/uploads folder was not copied completely, or file permissions are wrong. Compare its size on both hosts and re-copy it.
Pages still load from the old address, or there is a redirect loop
The siteurl and home settings still hold the old or temporary address. Fix them with the search and replace above. A loop can also come from a Cloudflare SSL setting; our HTTPS guide covers that case.
A white screen or a critical error
Often a PHP version mismatch or a plugin that dislikes the new server. Check the error log in cPanel (under Metrics > Errors), try the PHP version the old host used, and temporarily rename the offending plugin's folder in wp-content/plugins.
The one message worth forwarding
Send this to your new host's support before you start:
"We are moving a WordPress site of about 2 GB from another host. Can you confirm the server IP for our account, a temporary address we can use before DNS changes, the PHP version available, and whether you can help import a large database? Our email is hosted with another provider, so please do not change our MX records."
The takeaway: back up first, copy with the method that fits your access, test the new server with a hosts file, switch DNS in a quiet hour, and keep the old hosting until you are sure nothing was left behind.
Reader questions
Can I migrate WordPress without FTP?
Yes. Migrate Guru uses a migration key and needs FTP or cPanel details only as a fallback, cPanel lets you move files and the database in the browser, and All-in-One WP Migration exports and imports a single file.
Does Migrate Guru back up my site?
No. Its FAQ says it does not create backups. Download your own copy of the files and database before you migrate.
How big a site can Migrate Guru move?
Its plugin page says WordPress sites up to 200 GB, with about 1 GB moving in under 30 minutes. It allows 5 site migrations per month.
Do I need WordPress installed on the new host first?
For Migrate Guru and All-in-One WP Migration, yes: both copy into an existing WordPress install. For the cPanel method, no, because you upload the files and import the database yourself.
How do I test the new site before changing DNS?
Add a temporary hosts file line with the new server IP and your domain, then browse the site, log in, submit forms and place a test order. Remove the line when you finish.
Will migrating my website move my email?
No. A WordPress migration moves the site's files and database only. If your mailboxes are on the old hosting account, plan their move separately and protect your MX records when you change DNS.
How do I change URLs after migrating to a temporary address?
Use a serialized-safe tool such as wp search-replace with --skip-columns=guid, run it with --dry-run first, and take a database backup before the real run.
Sources & further reading
Originally published . About our editorial updates.