Website accessibility depends heavily on properly configured nameservers. Recently, Hostlelo updated its nameservers, which means website owners need to update their domain settings accordingly. In this comprehensive guide, we’ll explain what nameservers are, why Hostlelo updated them, and how you can ensure your website stays online and runs smoothly.
1. Introduction: Why Nameservers Matter
Nameservers play a critical role in connecting your website’s domain to the hosting server. If nameservers are not correctly configured, your site may become inaccessible. With Hostlelo’s recent nameserver update, ensuring that your domain points to the correct servers is essential to keep your website online and functioning efficiently.
2. What Are Nameservers?
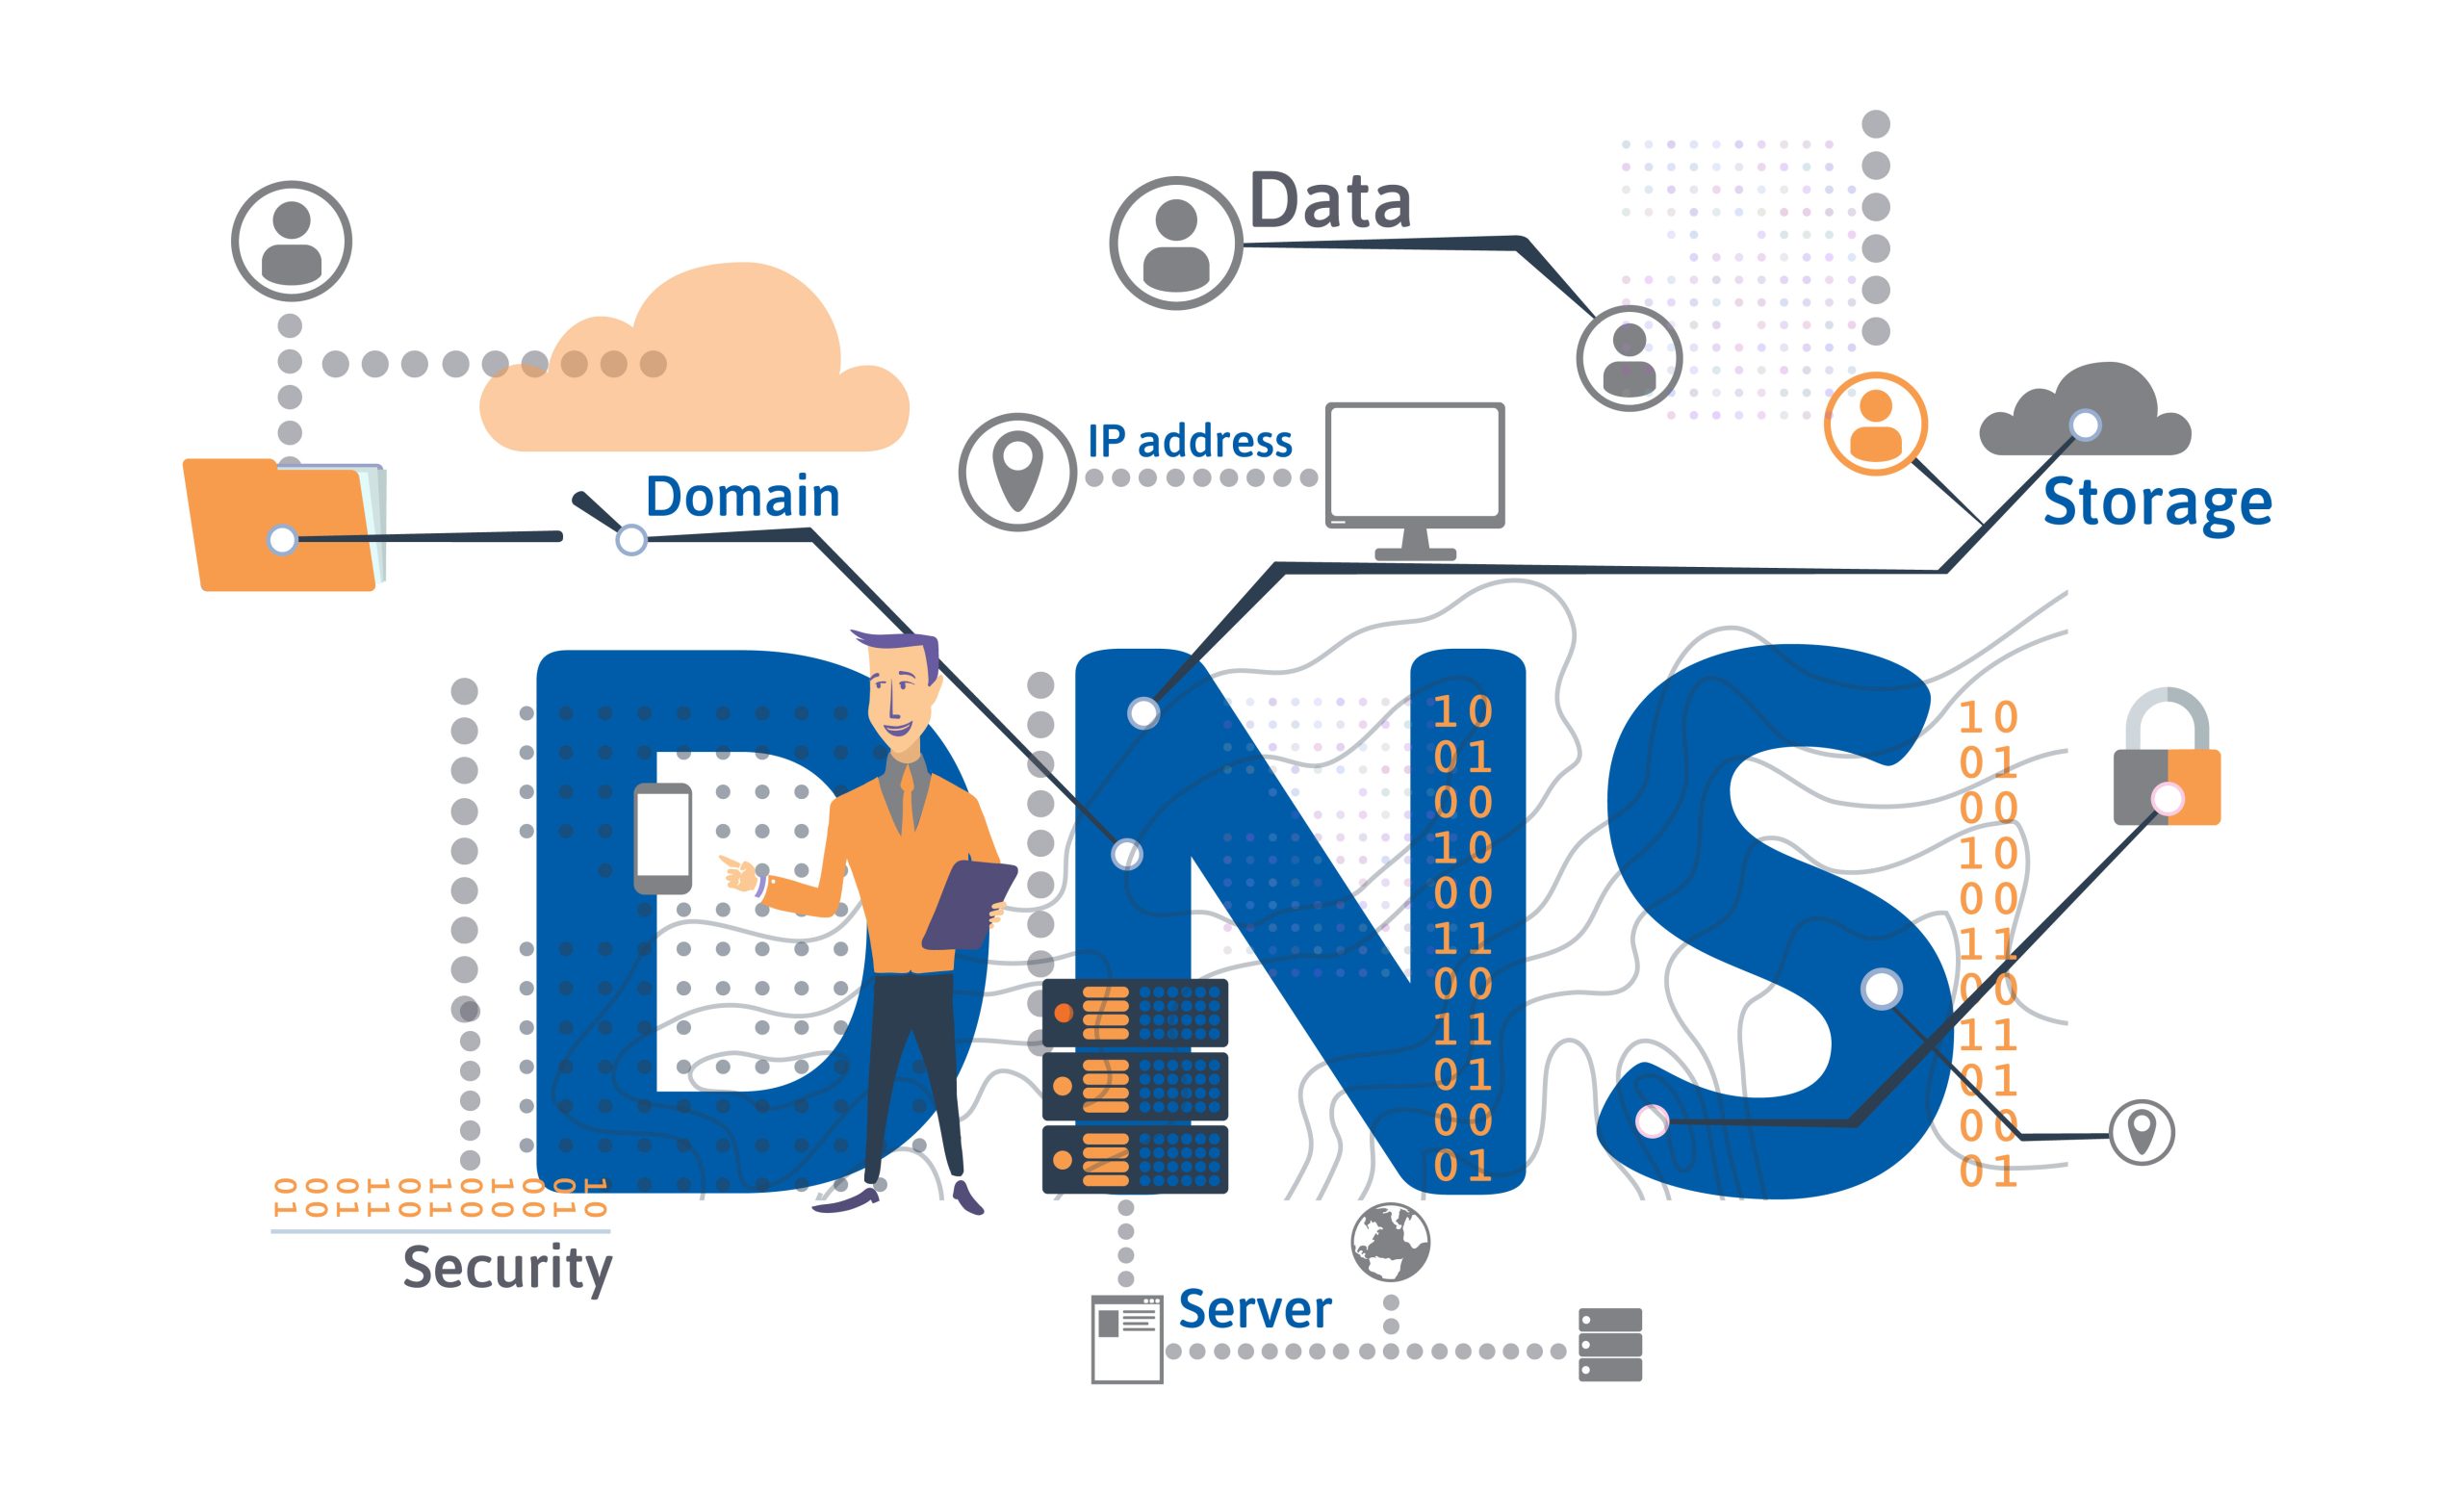
Nameservers are part of the Domain Name System (DNS), responsible for translating domain names (like www.example.com) into IP addresses (like 192.0.2.1) that computers use to locate websites. Think of nameservers as the internet’s phonebook, directing visitors to the correct website.
How Nameservers Work:
- A user enters a domain name in their browser.
- The request is sent to a nameserver.
- The nameserver retrieves the IP address linked to the domain.
- The browser connects to the correct web server and displays the website.
3. Why Did Hostlelo Update Its Nameservers?
Hostlelo updated its nameservers to improve:
- Website Speed: Faster DNS resolution for quicker page loads.
- Reliability: Reduced downtime with more robust server infrastructure.
- Security: Better protection against DNS attacks.
4. Hostlelo’s New Nameservers Details
The updated nameservers provided by Hostlelo are:
- ns1.new-cloud-server.com
- ns2.new-cloud-server.com
These new nameservers are designed for improved performance and reliability.
5. How to Update Nameservers in Popular Domain Registrars
Updating nameservers involves logging into your domain registrar account and changing the DNS settings. Here’s how to do it for popular registrars:
a. GoDaddy:
- Log in to your GoDaddy account.
- Go to Domain Management.
- Select the domain you want to update.
- Click on Manage DNS.
- Under Nameservers, select Change.
- Enter the new nameservers:
ns1.new-cloud-server.comns2.new-cloud-server.com
- Save the changes.
b. Namecheap:
- Sign in to your Namecheap account.
- Navigate to Domain List.
- Select Manage next to the domain you want to edit.
- Go to the Nameservers section.
- Choose Custom DNS.
- Enter the updated nameservers:
ns1.new-cloud-server.comns2.new-cloud-server.com
- Click Save Changes.
c. Hostinger:
- Access your Hostinger account.
- Go to Domains.
- Select the domain you wish to update.
- Click Edit DNS Records.
- Enter the new nameservers:
ns1.new-cloud-server.comns2.new-cloud-server.com
- Save your changes.
6. How DNS Propagation Works
When you update nameservers, the changes must be distributed across DNS servers worldwide, a process known as DNS propagation.
Steps Involved:
- You update your domain’s nameservers.
- The domain registrar forwards the change to the global DNS system.
- DNS servers around the world update their records.
- Visitors start seeing the updated site after the propagation process completes.
7. DNS Propagation Duration and Factors
DNS propagation can take anywhere from a few minutes to 48 hours. Several factors influence the time required, including:
- TTL Settings: Lower TTL values result in faster propagation.
- ISP Caching: Some ISPs may delay updating DNS records.
- Geographic Location: Different regions may experience varying update speeds.
8. Common Issues After Updating Nameservers
After updating nameservers, you might encounter the following issues:
- Intermittent Website Access: Some users see the new website, while others see the old one.
- Email Delivery Problems: Email services linked to your domain may be temporarily affected.
- Error Messages: Errors like “Site Not Found” may occur until propagation completes.
9. How to Speed Up DNS Propagation
1. Use a Reliable DNS Service:
Consider services like Cloudflare for faster DNS propagation.
2. Flush Local DNS Cache:
- Windows: Open Command Prompt and run
ipconfig /flushdns. - macOS: Open Terminal and enter
sudo killall -HUP mDNSResponder.
3. Change DNS Resolvers:
Use public DNS resolvers like:
- Google DNS: 8.8.8.8, 8.8.4.4
- Cloudflare DNS: 1.1.1.1, 1.0.0.1
10. Monitoring DNS Propagation Status
To track DNS propagation progress, use these tools:
- DNSChecker.org: Check DNS updates globally.
- WhatsMyDNS.net: View propagation status across different server locations.
11. Frequently Asked Questions (FAQs)
Q1. What Happens If I Don’t Update My Nameservers?
Your website may become inaccessible if your nameservers aren’t updated.
Q2. How Long Does DNS Propagation Take?
Typically, DNS propagation takes 24-48 hours.
Q3. Can I Use Multiple Nameservers?
Yes, but ensure they are configured correctly.
Q4. Do I Need to Update Nameservers for Every Domain?
Yes, you must update nameservers for each domain individually.
12. Conclusion
Updating your nameservers to Hostlelo’s latest configuration ensures improved website performance, reliability, and security. Follow the steps outlined in this guide to keep your site online and optimized. Regularly check DNS propagation and resolve any potential issues promptly.

